Directions
How to Build a KSV Raised Bed
Step one
each tier package includes the following parts:
2 - 8’ x 8” x 2 1/2” hemlock (long pieces)
2 - 32” 8” x 2 1/2” hemlock (short pieces)
1 - 2” x #3 Spider Driver Bit for 4 1/2” lag screw
8 - 4 1/2” black lag screws
20 - #8 x 3/4” self tapping screws standard phillip head (phillip head bit not provided in kit)
6 - 3/4” wood pegs
every kit contains 1 - 8’ rodent pest hardware wire regardless of # of tiers (1,2,3 or 4)
We recommend using an impact drill (easier) but you can also use a standard drill
We also always recommend wearing eye protection


Step two
The MOST IMPORTANT: LEVEL location for your future raised bed. Start by removing approximately 2” of topsoil and level width and length. Using sand as a base is useful for leveling. Once the location is level you can begin building your KSV raised bed.
Step three
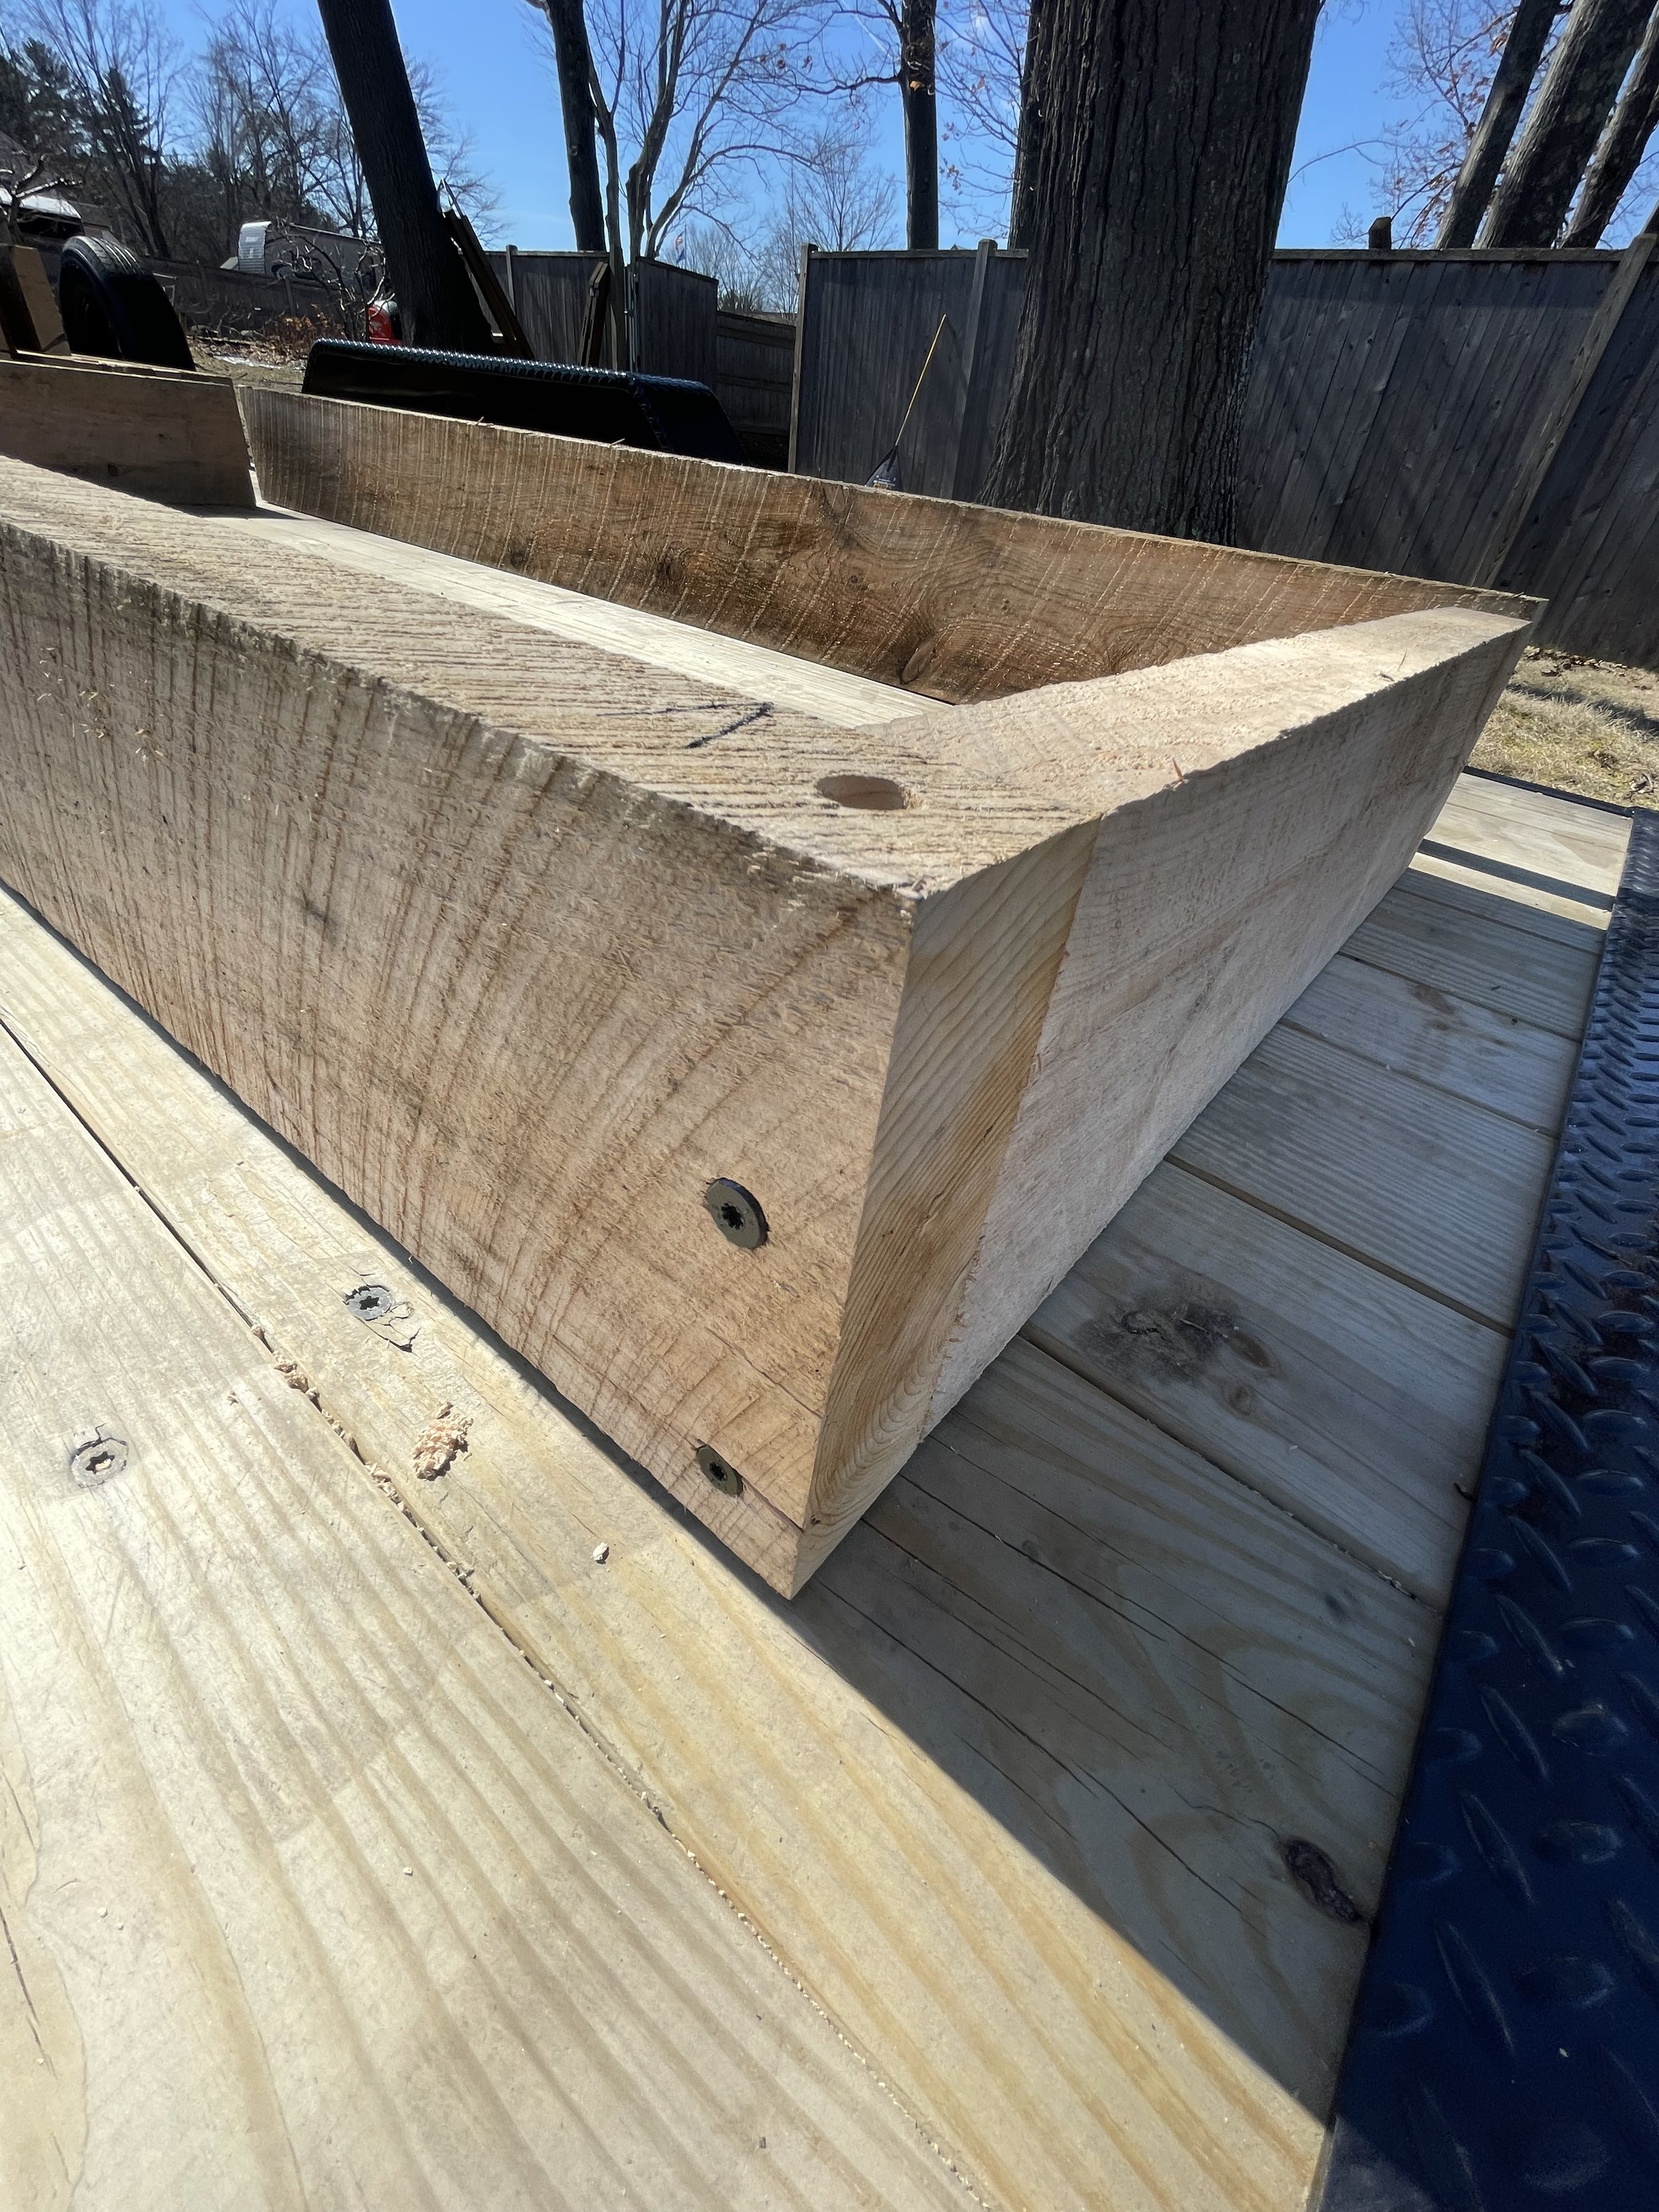
Identify the inside of 8’ length of bed by looking for “Upside down V Symbol” seen in pictures below. It represents the top of that tier (for purposes of connecting to additional tiers or to use as the final top tier with the three high tunnel hoop accessory.) The “V” always points to the inside of the bed. Select one of the two short pieces and align with the board as seen in the pictures and connect using 2 - 4 1/2” lag screws for each side. Follow the same process for the other 8’ length.


Step four
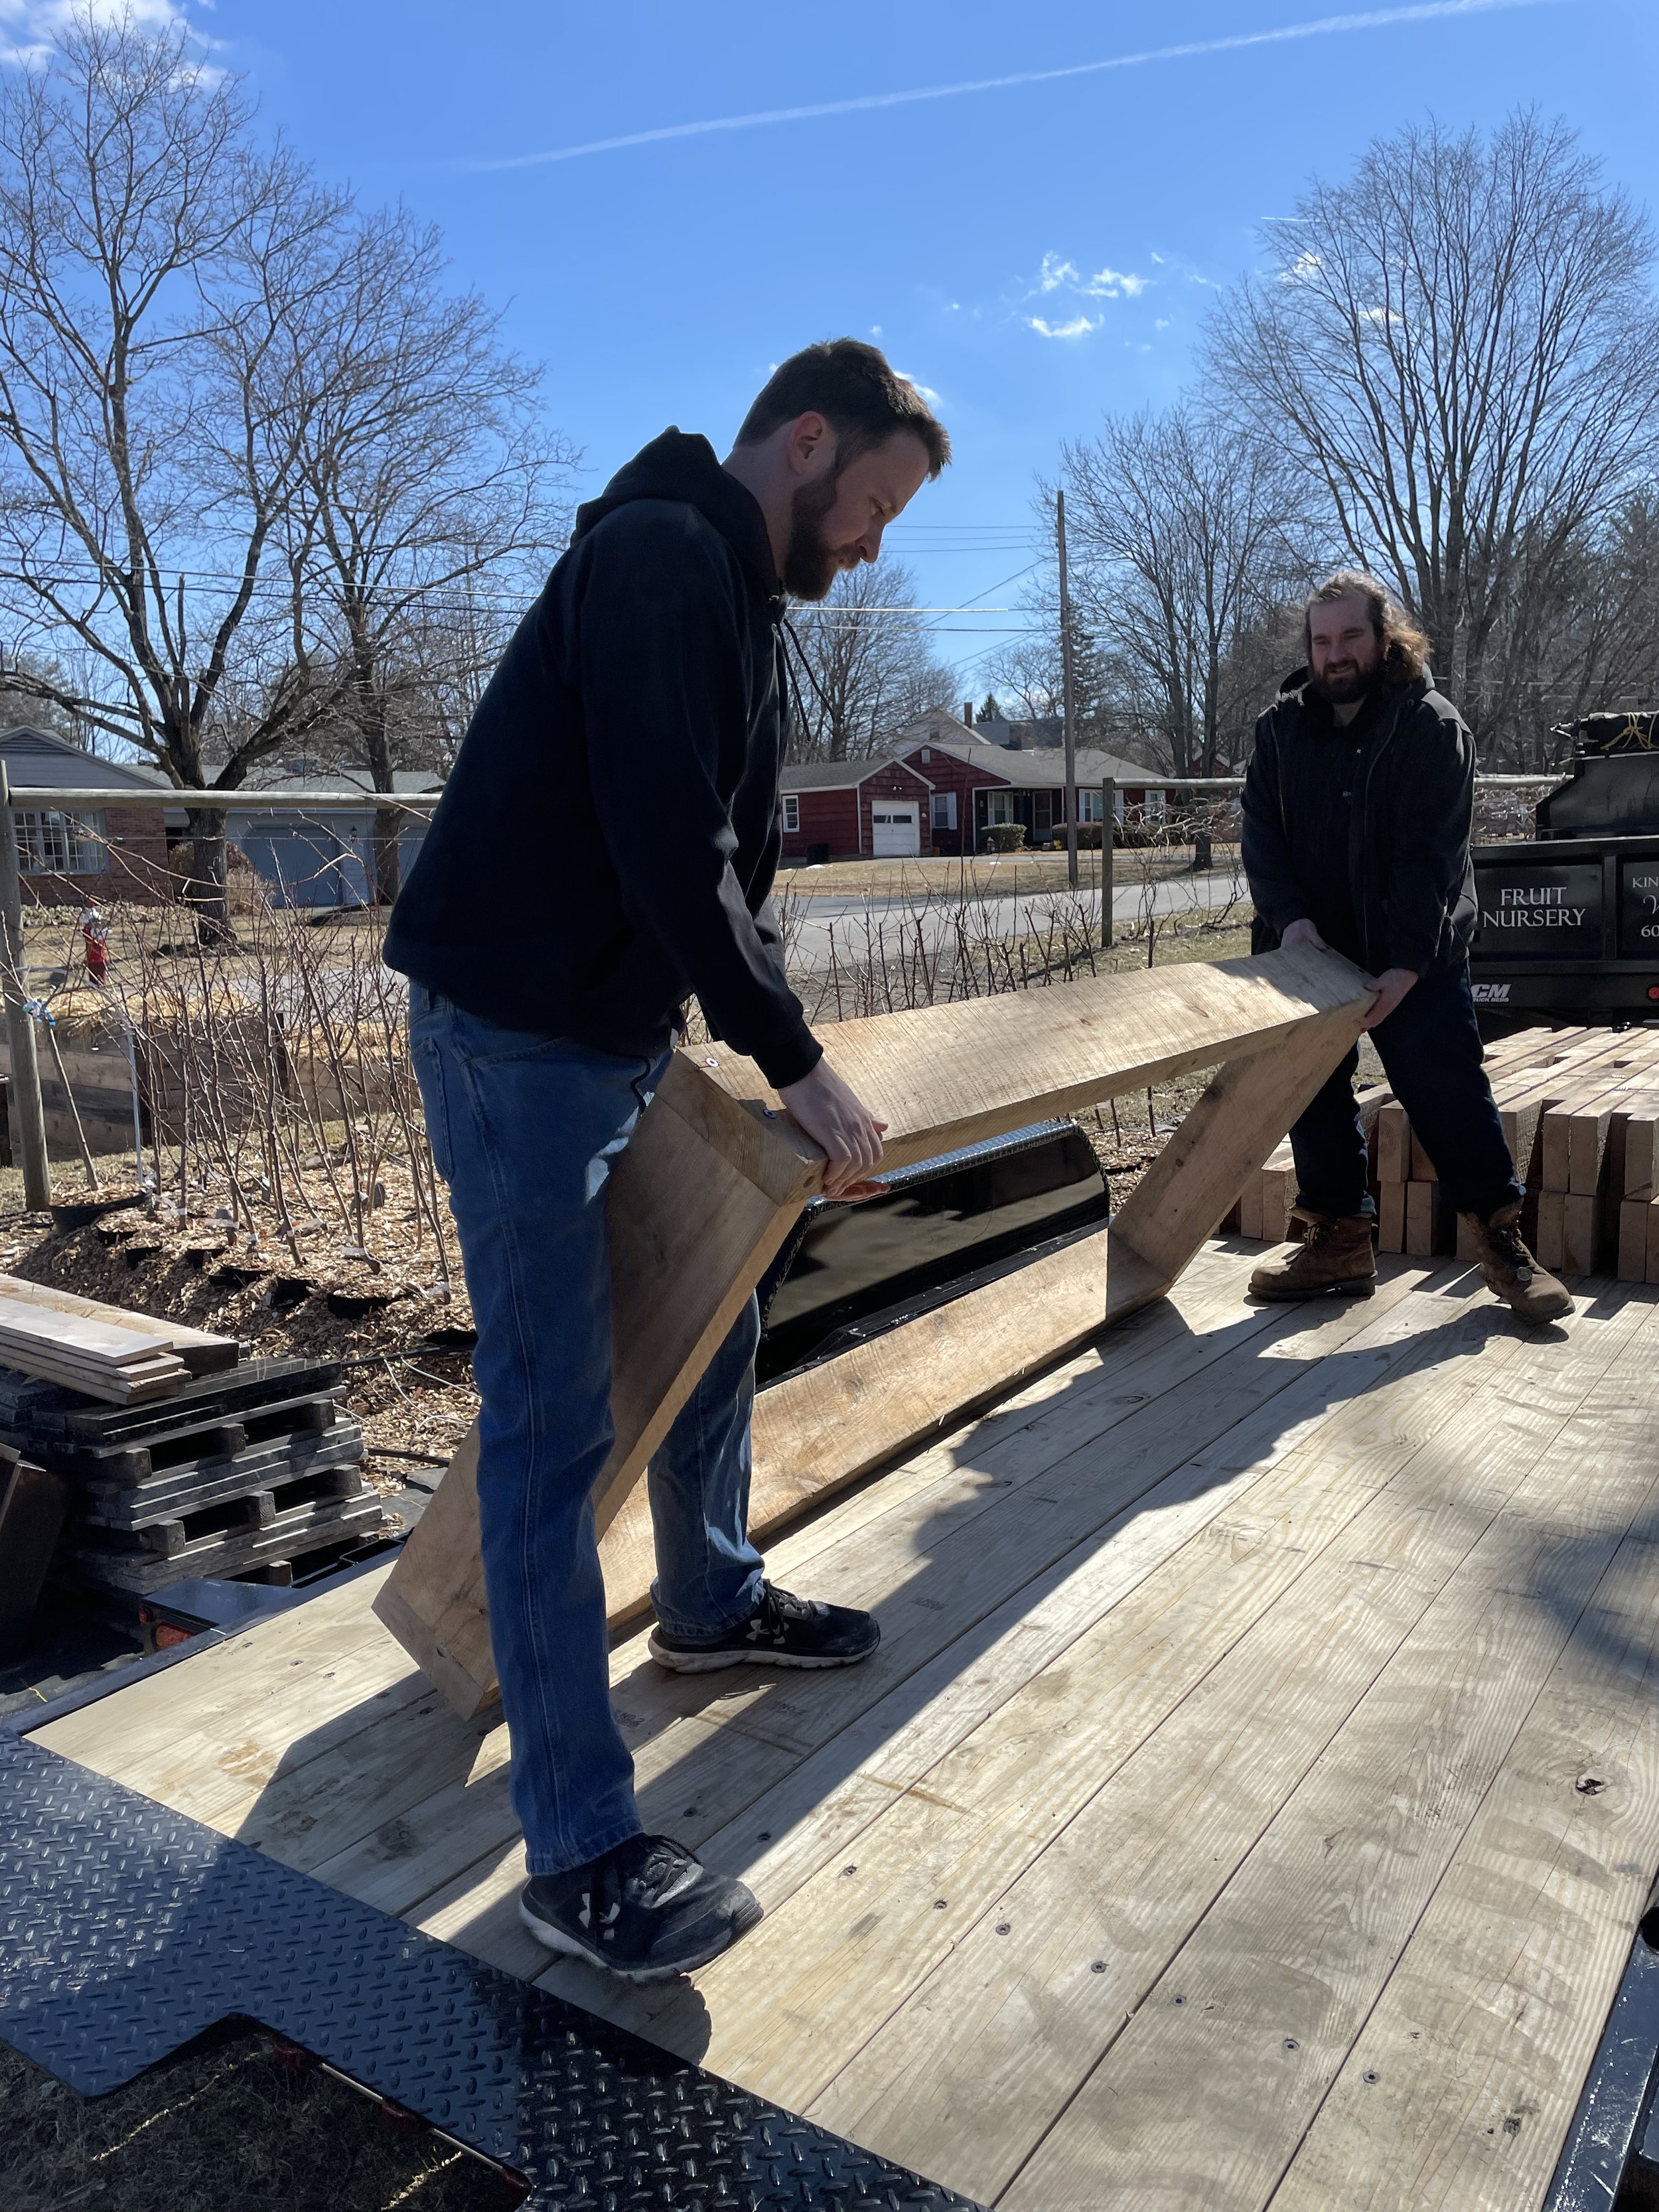
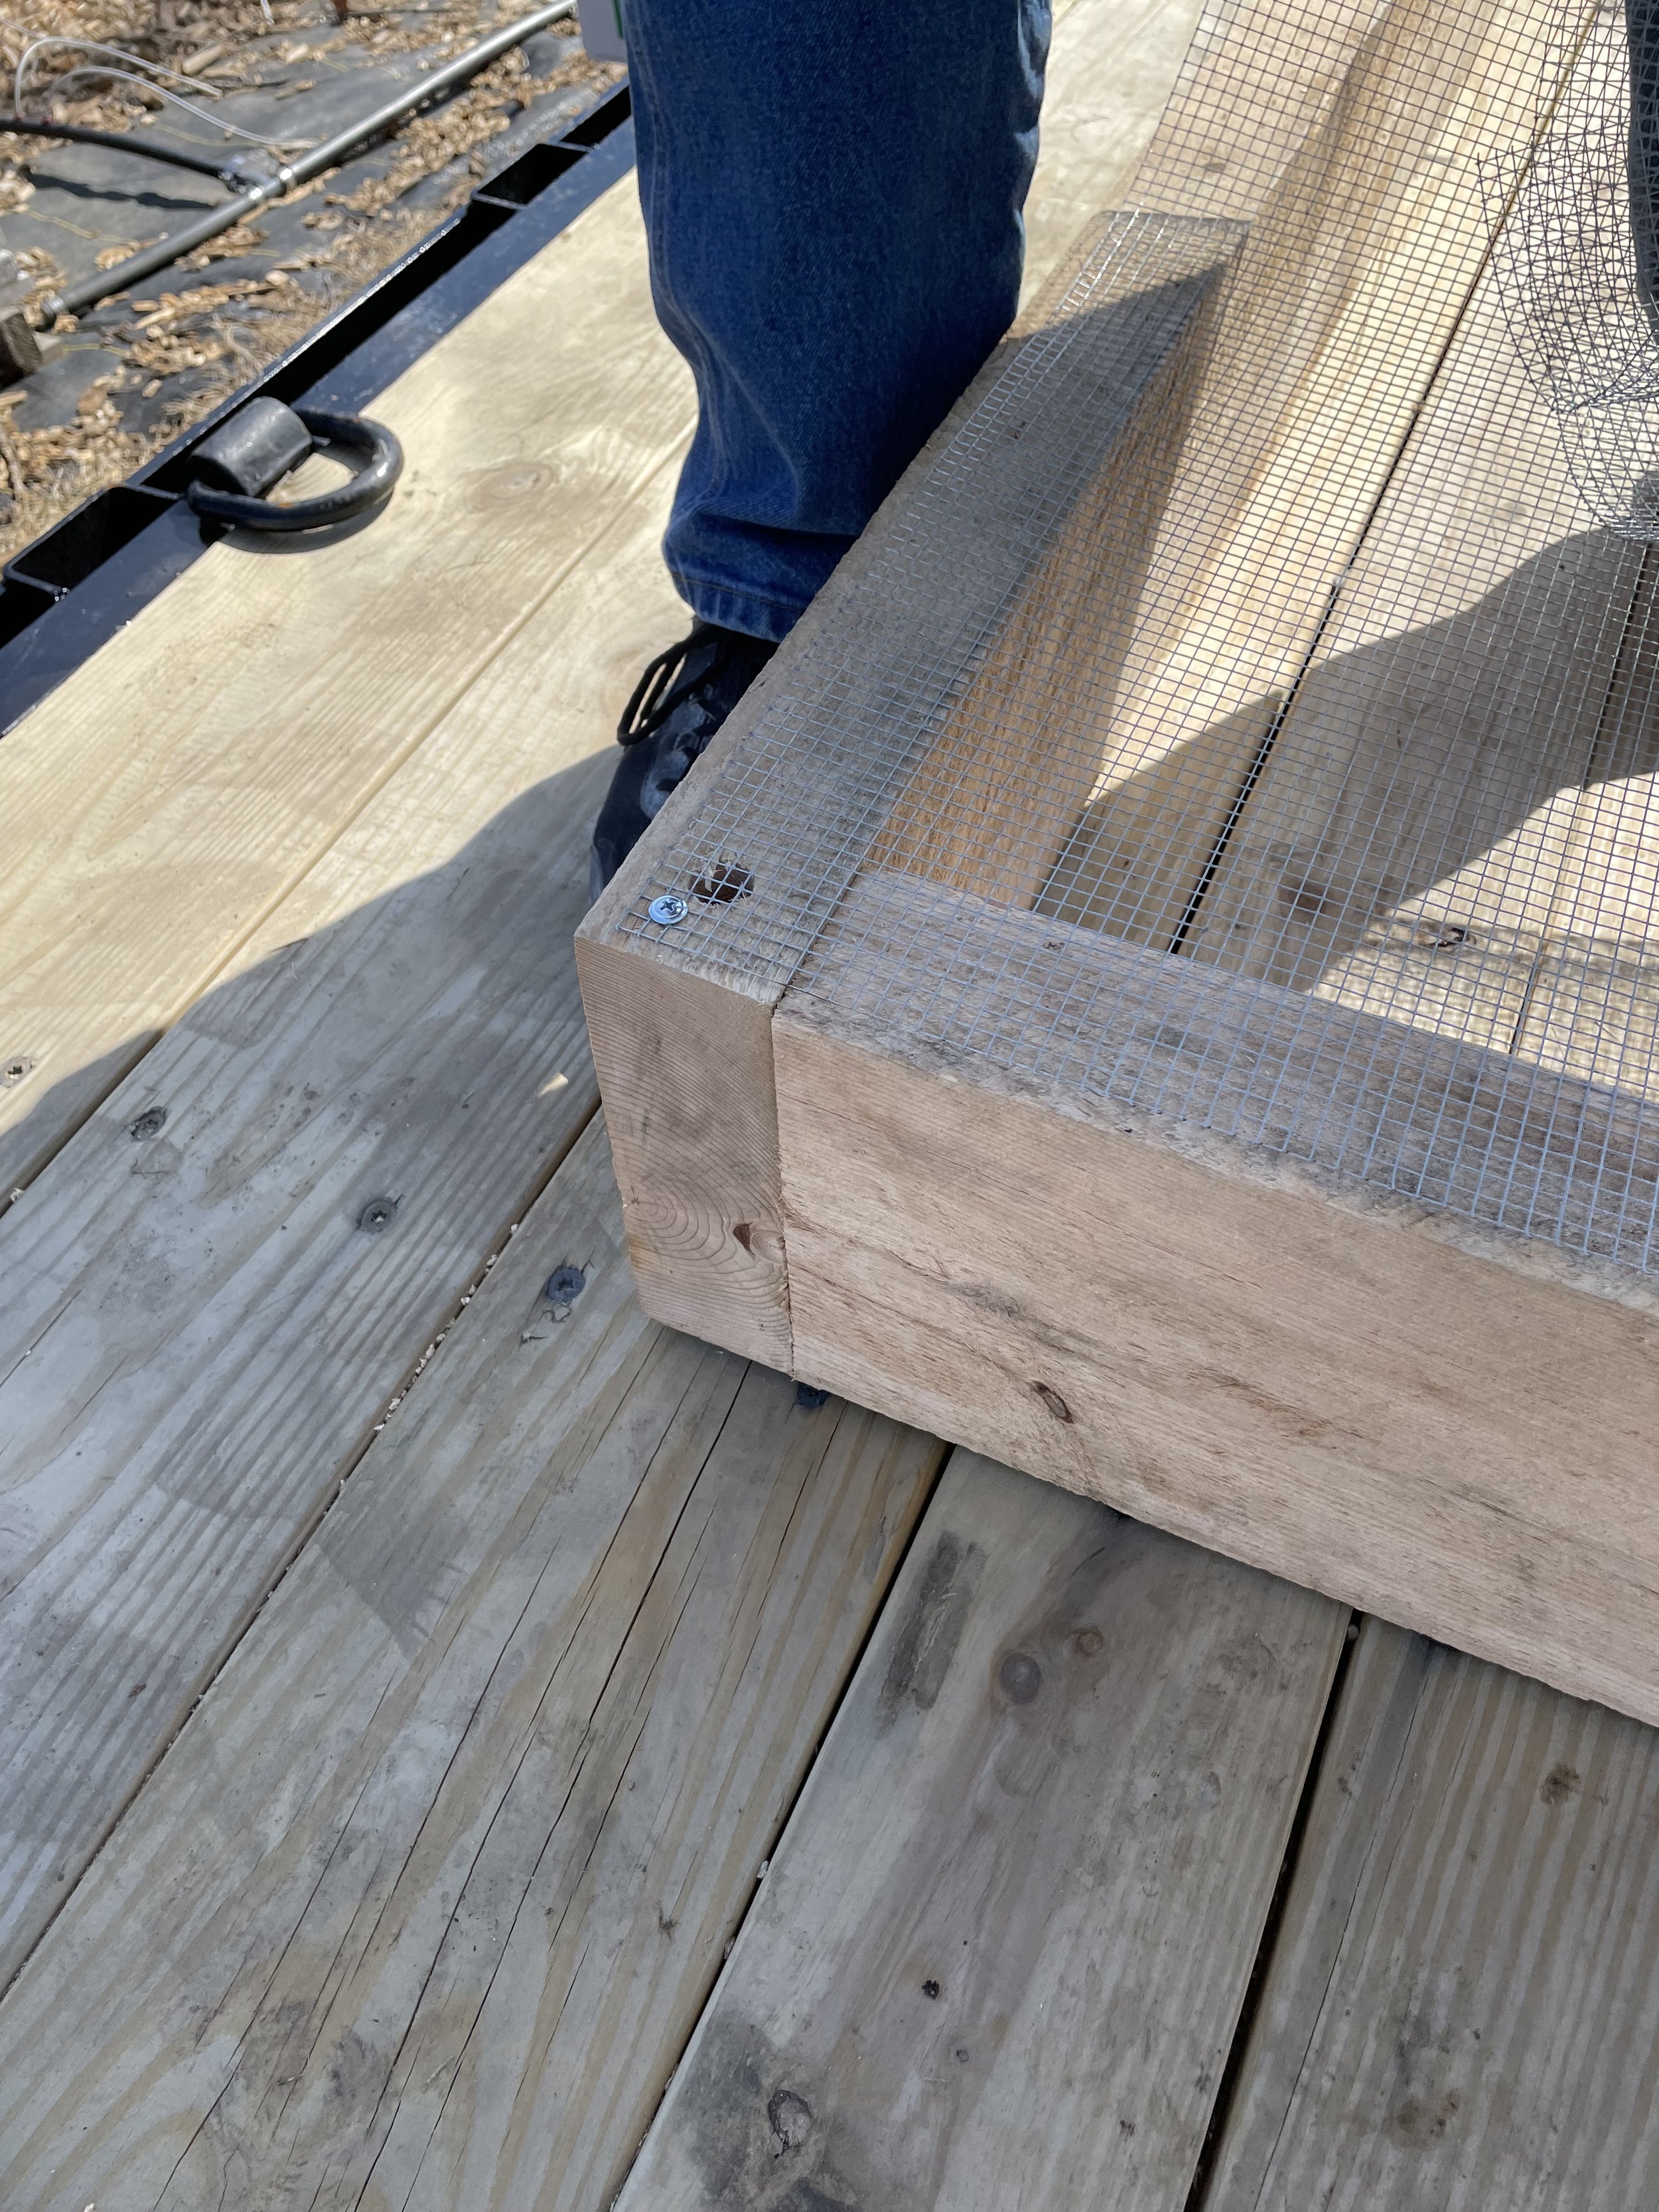
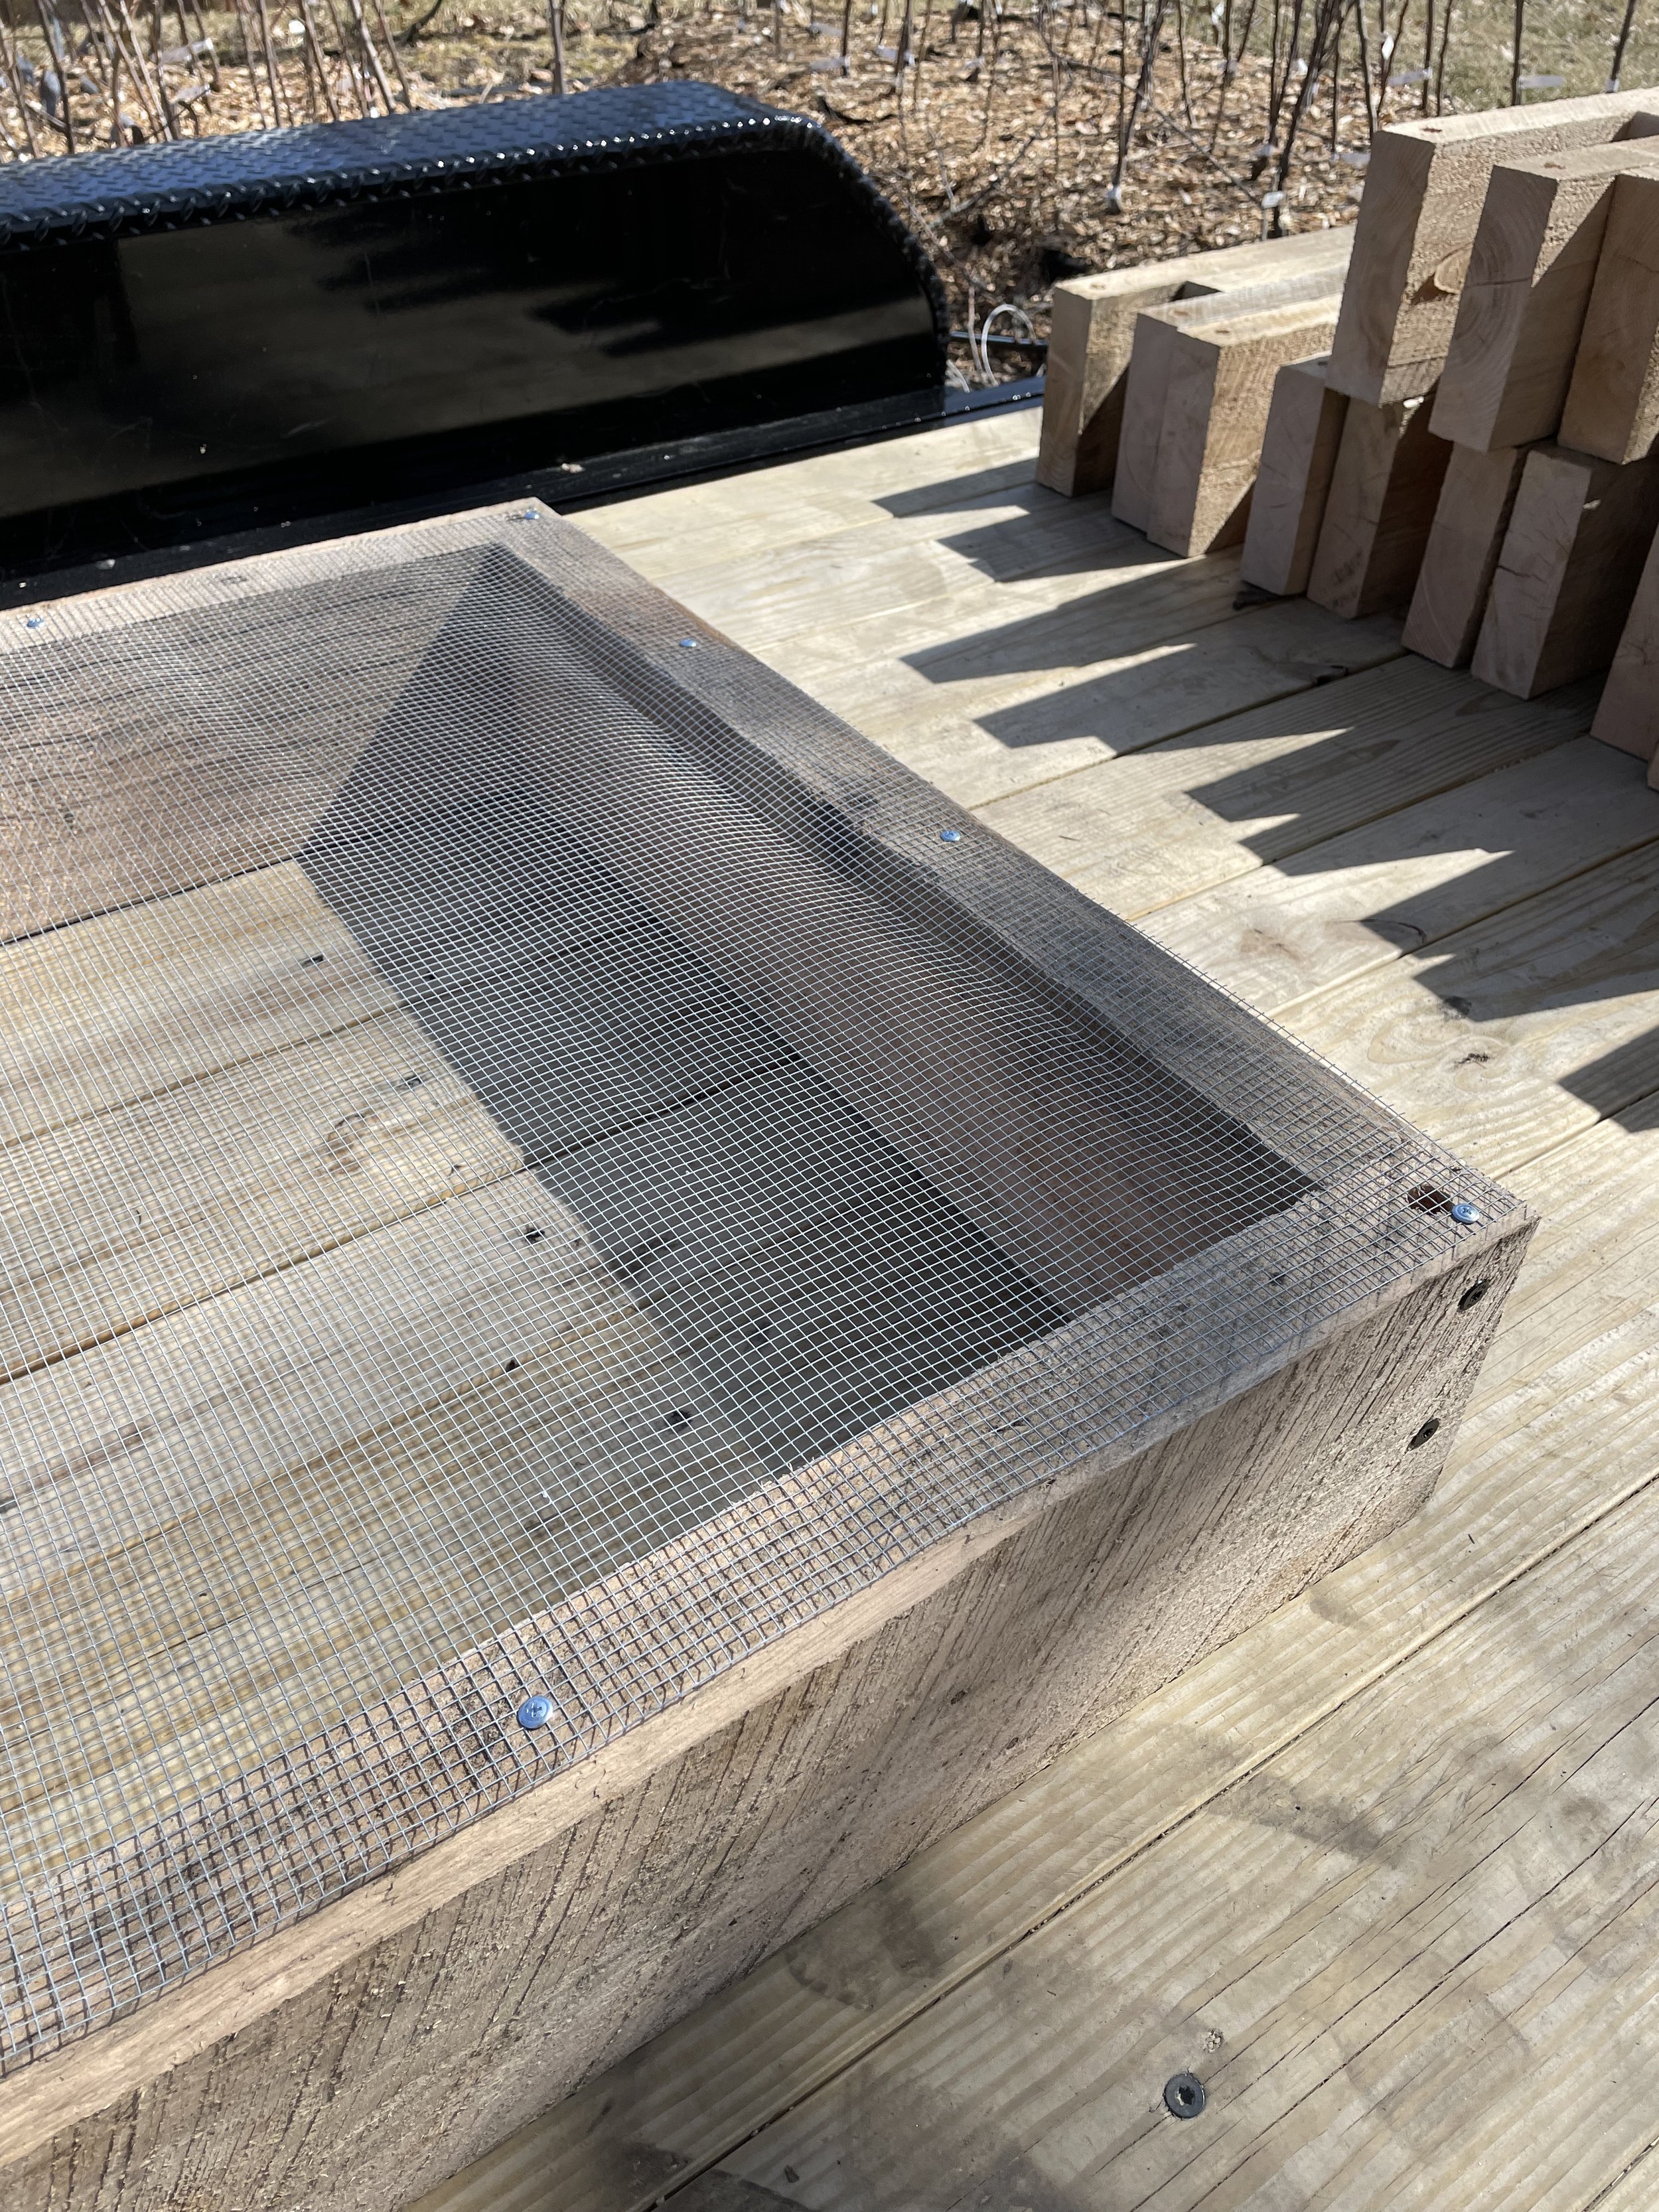
Flip entire tier over in order to attach the 8’ hardware wire mesh to the bottom of the bed. Use five self tapping screws on all four sides. Start by doing one short side first (using 3 of the 5 screws and then come down one 8’length all of the way down. This allows you to keep the wire mesh tightened to the base as you add the screws. Basically, you end up with five across both short ends and then five equally spaced across each 8’ length.
When you finish adding the hardware wire and screws flip the bed back over showing the top (you should see the upside down “V”.) If you were only building a single tier raised bed, you’re done. Go to Step 5 if you are adding another tier to the existing base.


Step five
Adding another tier: Place three of the wood pegs along the 8’ length (ends and middle holes). Gently position an 8’ length on top of the existing 8’ length base and inserted so that the bottom pegs are aligned with the upper 8’length. To gently encourage the two pieces connecting use a rubber hammer or a standard hammer with a buffer piece of wood (between the hammer and the 8’ length) so as to not dent the raised bed. Now attach the side pieces and finish with the final 8’ length piece using the predrilled holes and the 4 1/2” lag screws.

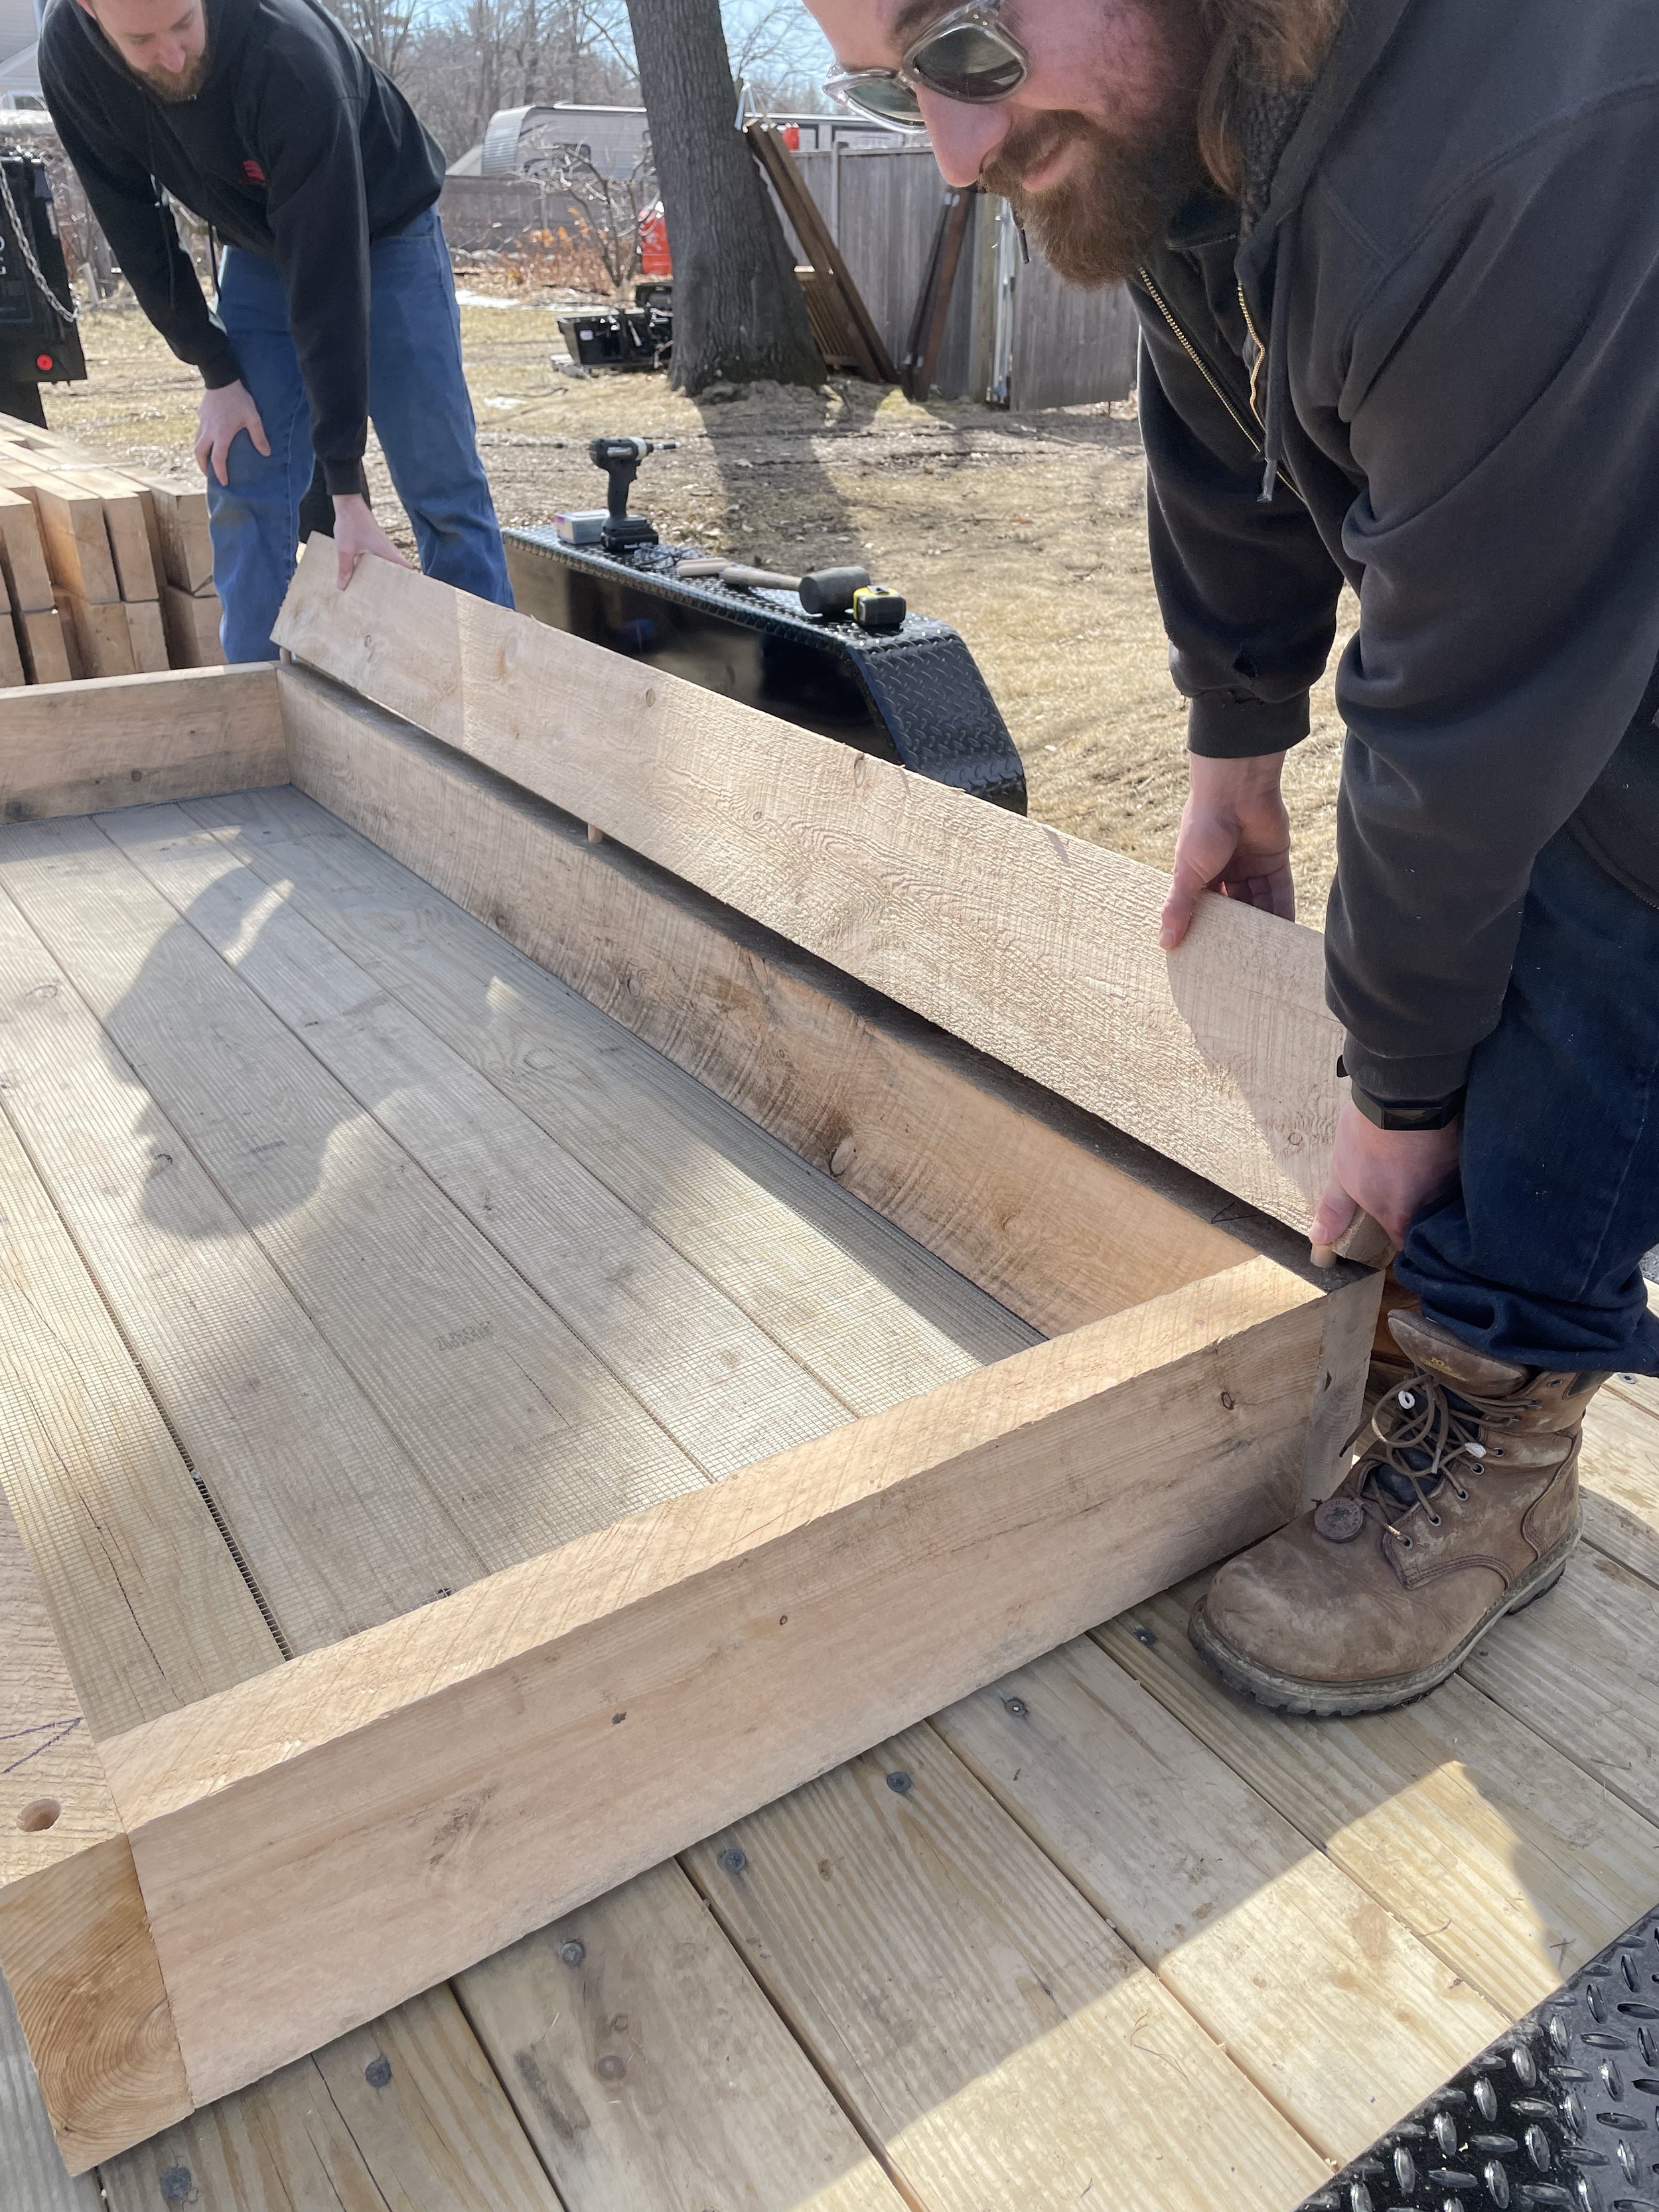

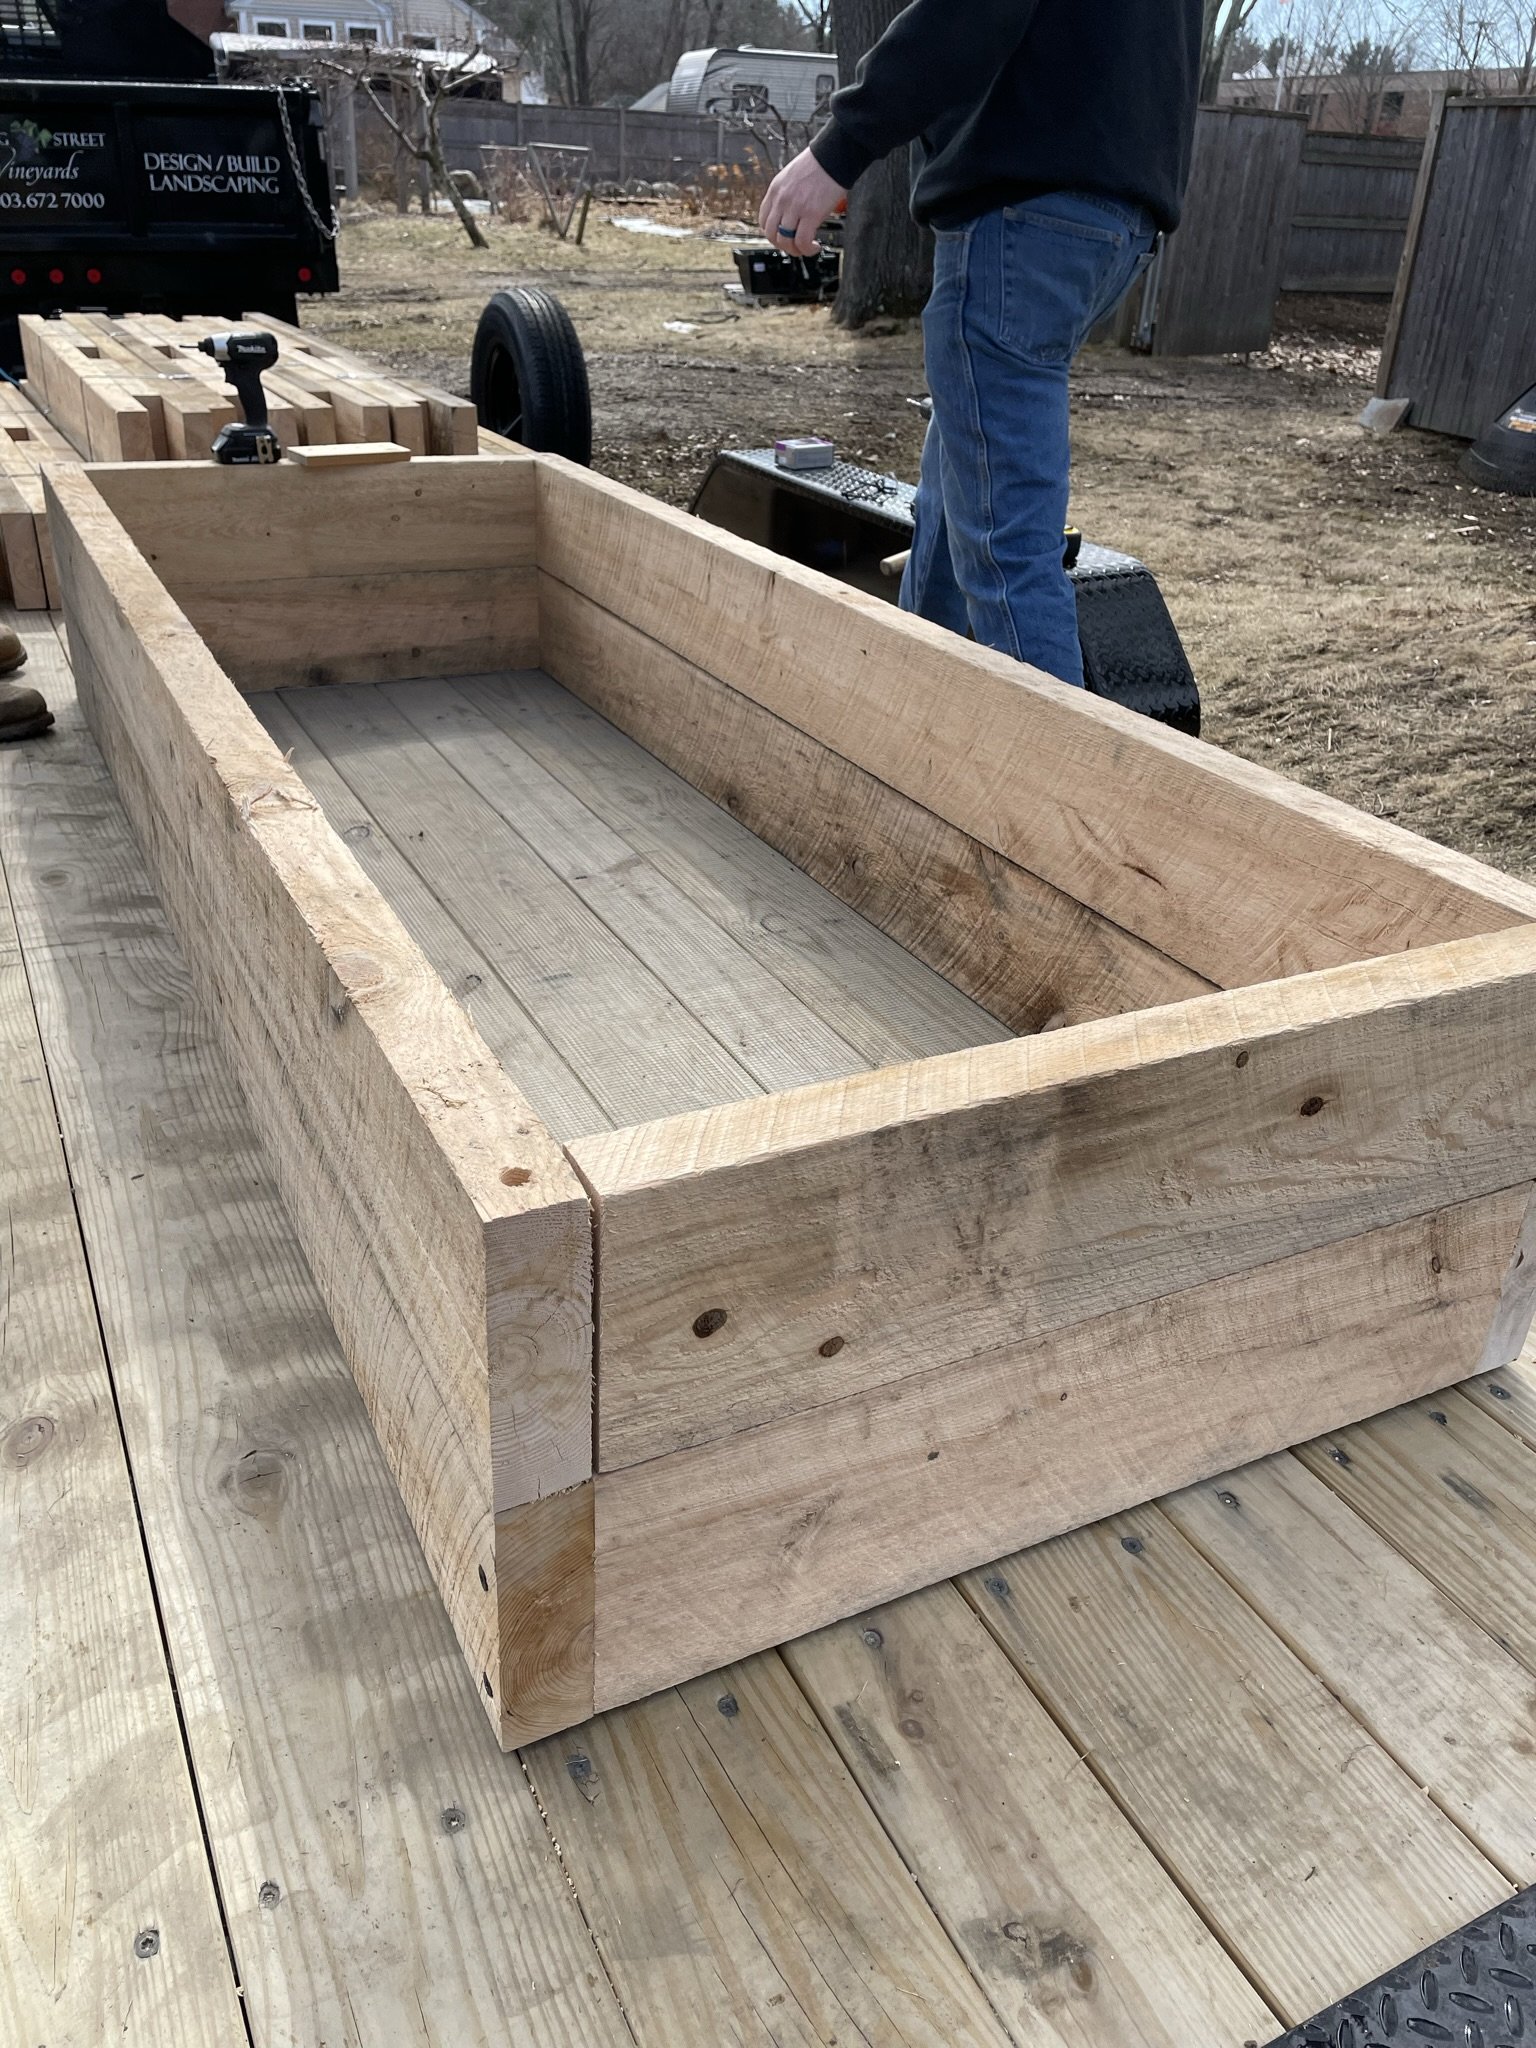
Almost done - Just screw in your final set(s) of lag screws and you’ll have built your new two tiered KSV Raised Bed